Editing tips for photographers: How to see green colour cast
One question that often comes up in my Professional Photographer’s Training Group is whether or not the colours look OK on their outdoor photography. The question is usually asked as the photographer can see something in the skin-tone is not quite right.
From mentoring and training lots of outdoor photographers I believe there is a point where you are still training your eye to see white balance and colour casts from trees and grass. Therefore, I thought it might be useful for me to share my technique for quickly identifying if I have a colour cast is and where on my subject it is.
Step 1: Correcting white balance
When it comes to editing I will address any white balance issues first. This is usually a straightforward correction in either Adobe Camera Raw or Lightroom using a grey card OR black/white/grey clothing from the image.
Step 2: Identifying a green colour cast
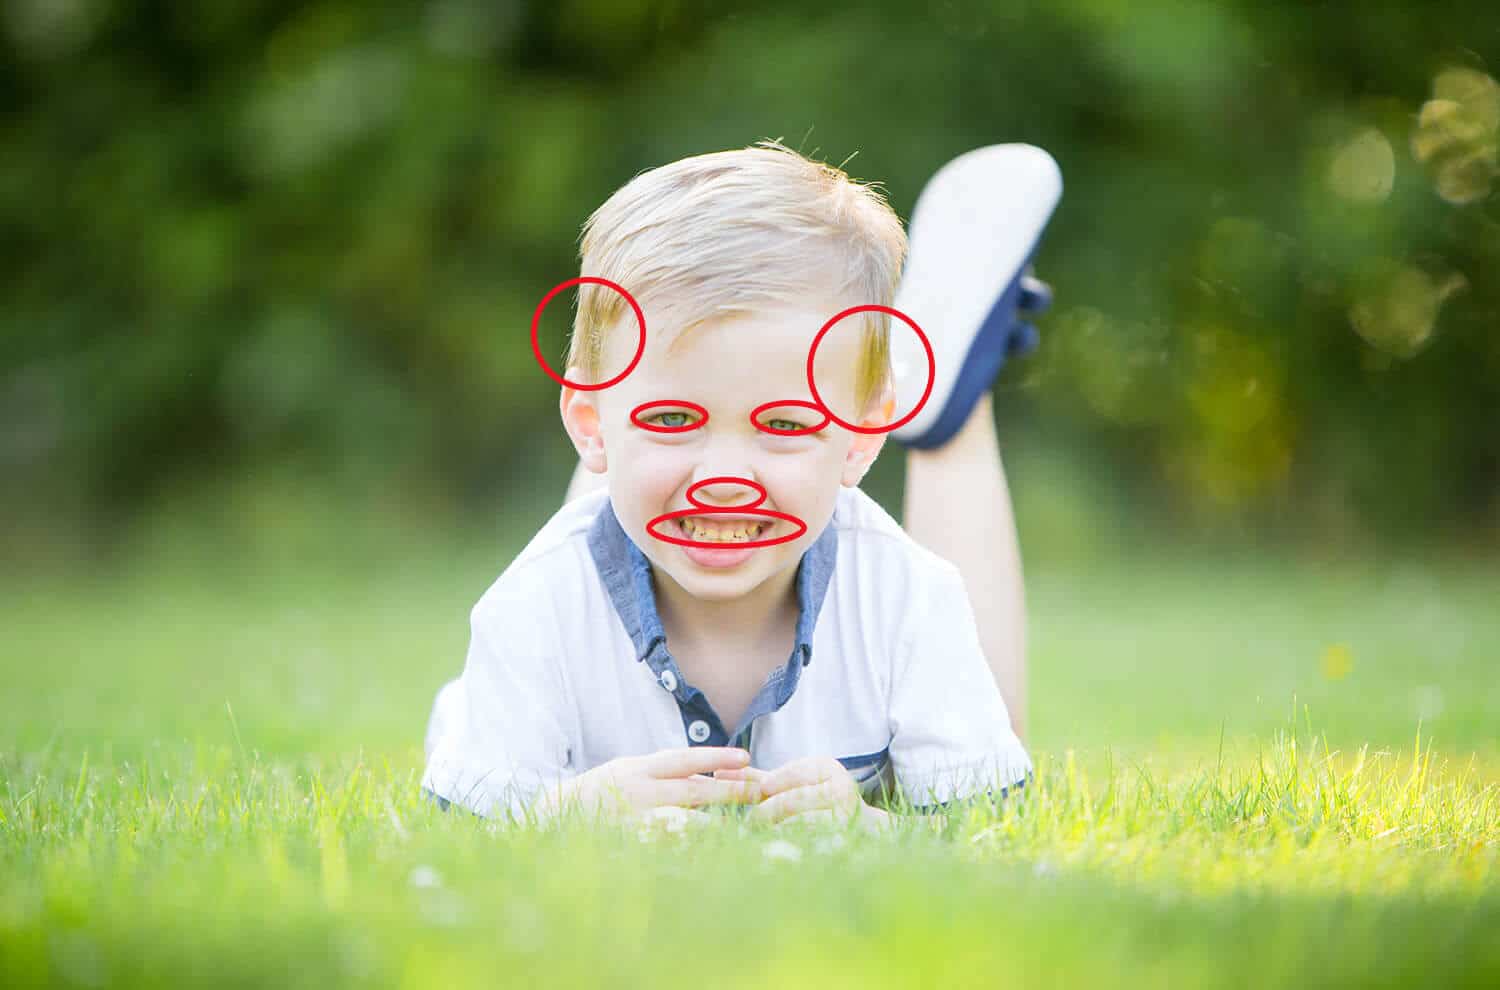
Once the white balance is corrected, I will then work on any green colour cast. I find green appears most often under the chin, nose and eye sockets and will also be more noticeable on subjects with blonde hair.
To identify where the cast is, follow the process below in either Adobe Camera Raw or Lightroom. This is also a great way to train your eye and you will find it easier to see colour casts in the future.
If you would like to learn how to edit your outdoor images, to take them from great to wow, feel free to take a look at my upcoming editing workshops which are held in small groups around the UK.
1. Open your file in Adobe Camera Raw or Lightroom
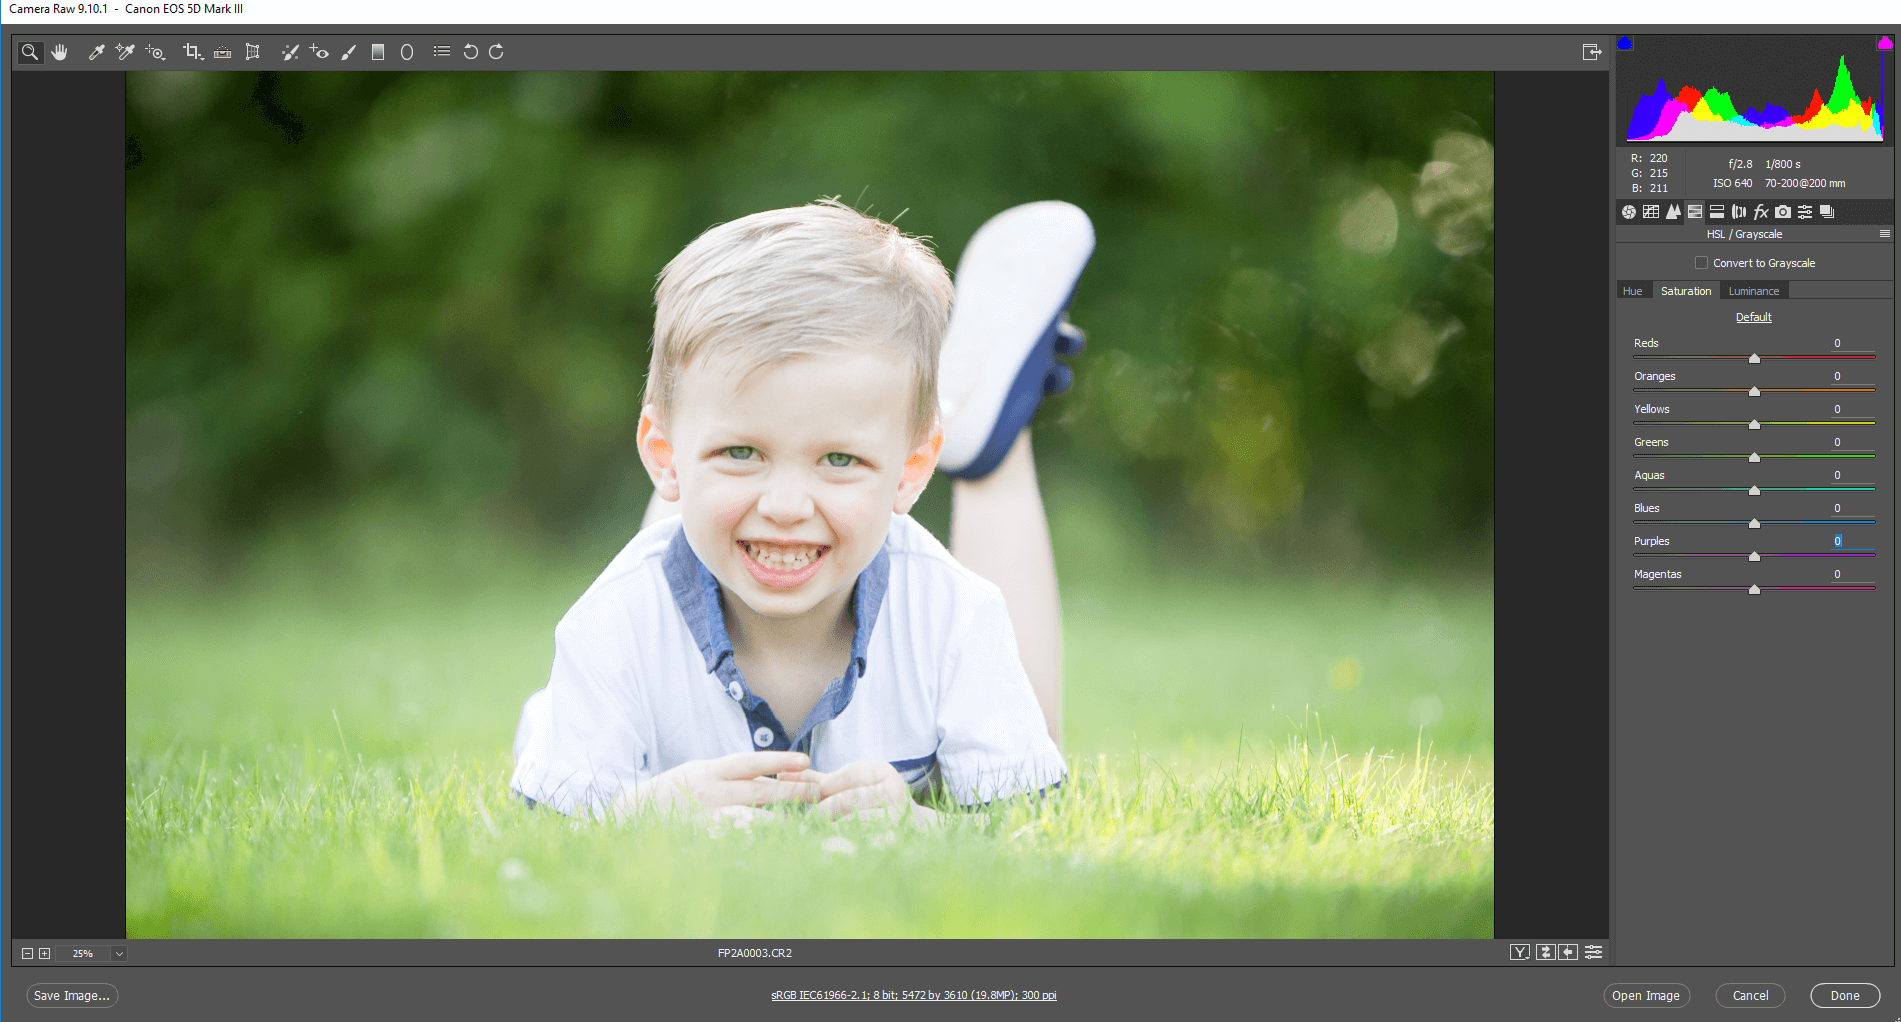
2. In the HSL (Hue/ Saturation/ Luminance) panel take your yellow saturation up to 100%
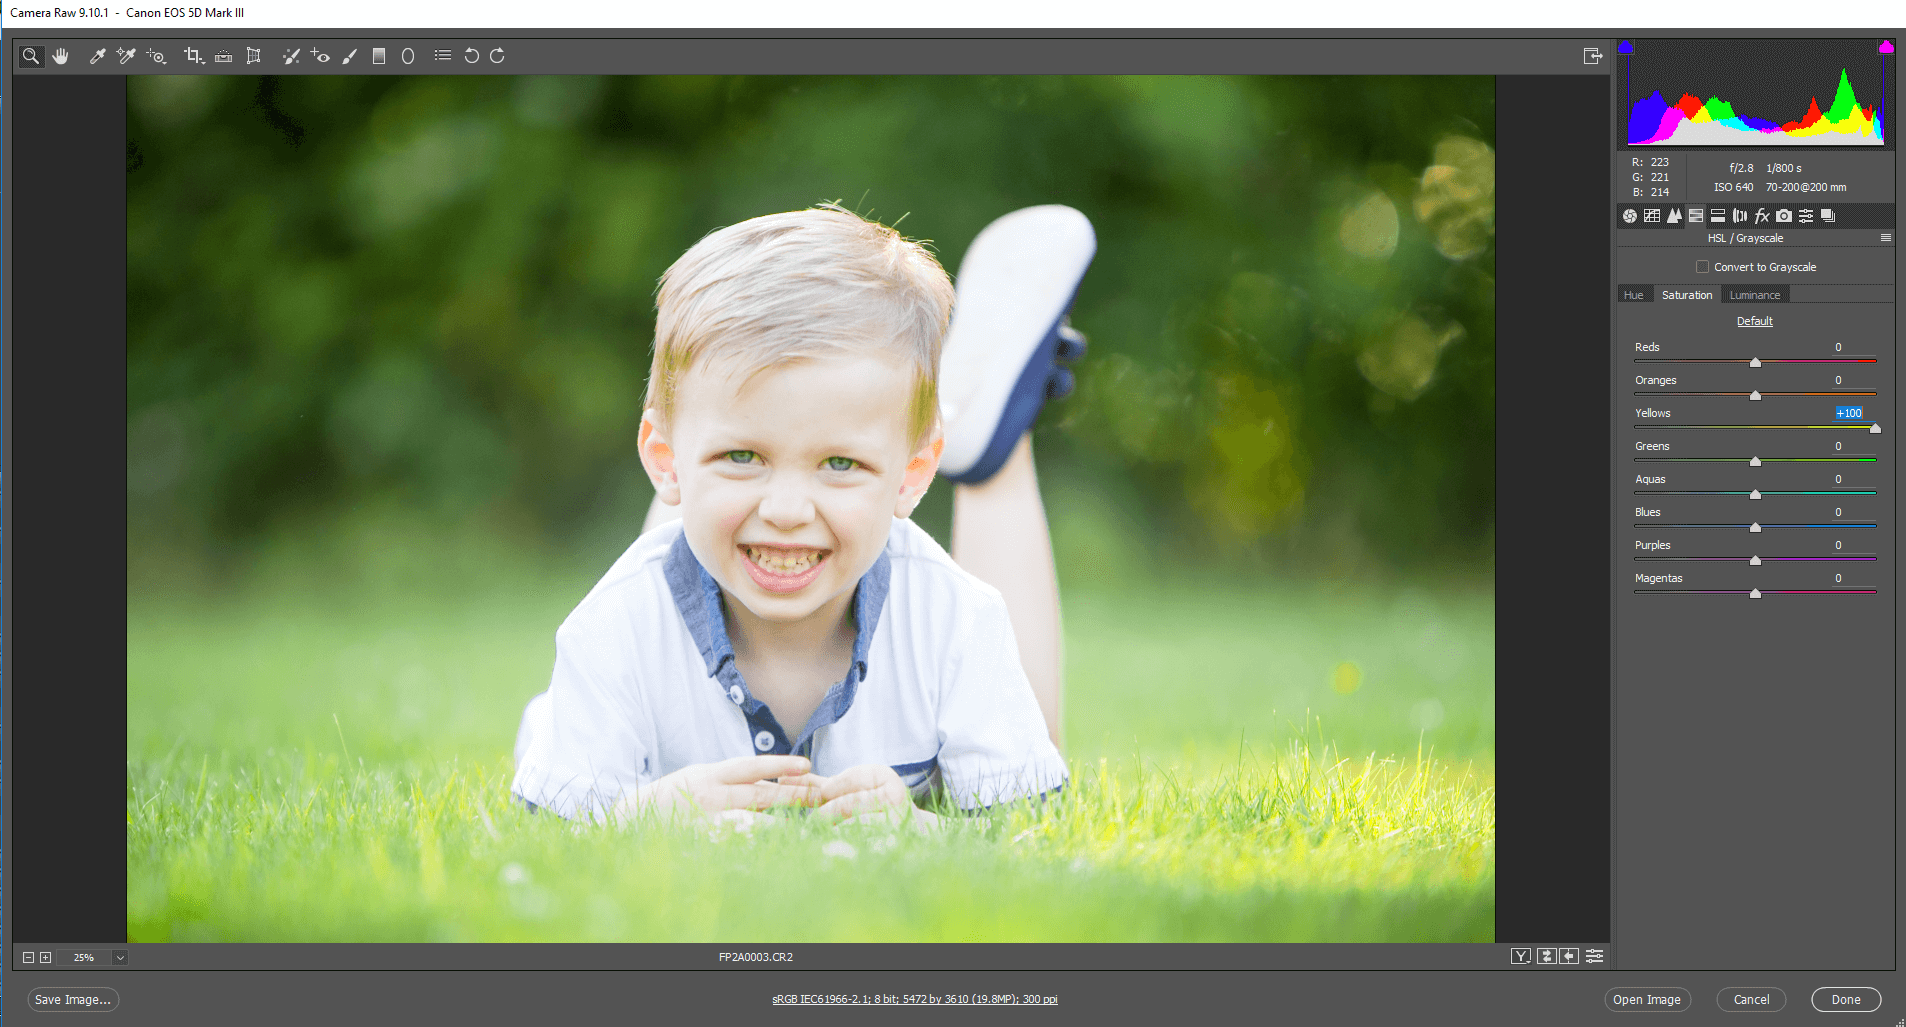
3. Move the slider up and down to see where the yellow patches are appearing (-100 to +100)