Top tips for photographing live music & fashion
Top tips for photographing live music & fashion shows
In the last couple of weeks a number of photographers have asked for my top tips on how to deliver great images when photographing live music or catwalk and fashion shows. Alongside my children’s photography, I also love to photograph events so I thought I would share how I took the images at both a concert at the Dorchester in London and at London Fashion Weekend in the Saatchi gallery.

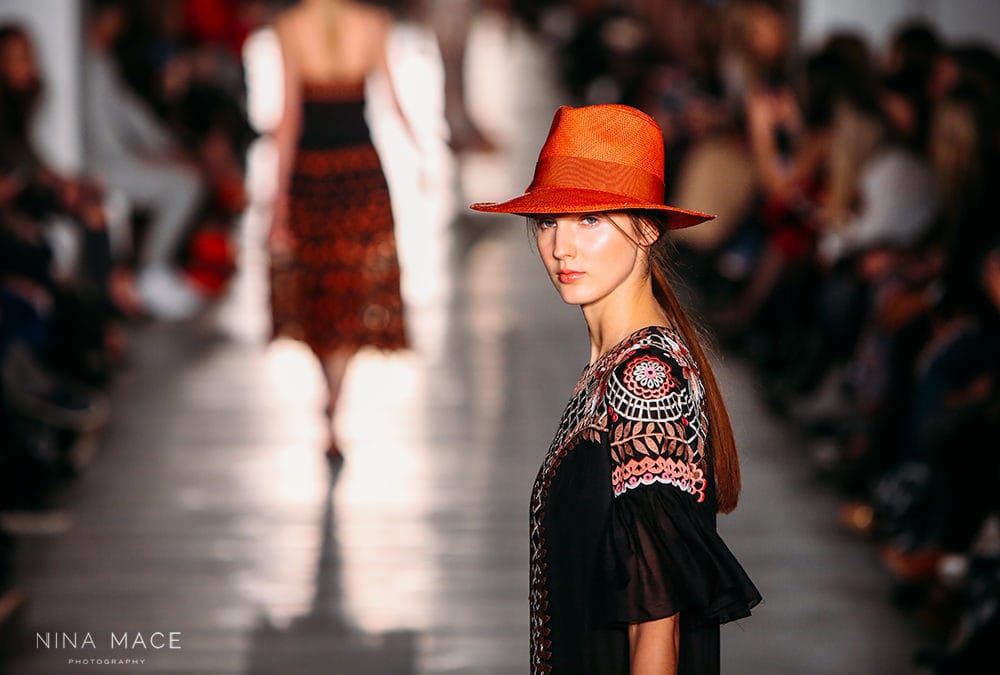
Catwalk Photography: London Fashion Weekend 2016
xxxxxxxxxxxx
I have always wanted to photograph a catwalk show, and this weekend I had the opportunity to photograph 2 shows at London Fashion Weekend courtesy of Canons CPS scheme (additional information about the CPS scheme is shown at the end of this blog post).
The first show was all around new seasons trends, and showcased four different styles of clothing, and the second designer was Temperley London a brand created by Alice Temperley MBE a British fashion designer based in London.

1. Light
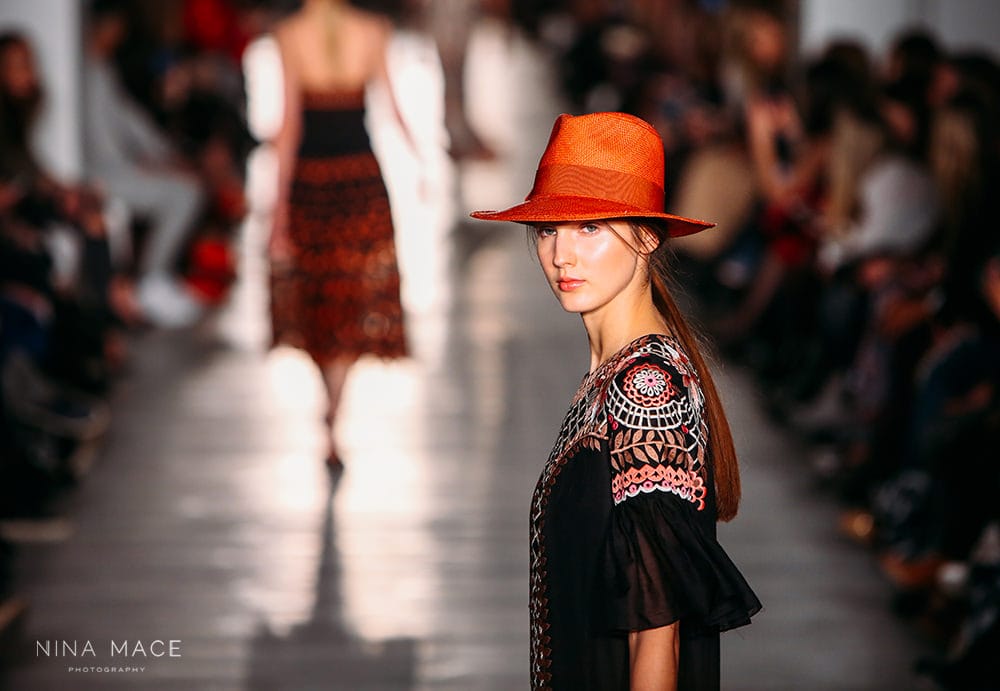
When it comes to shooting catwalk shows the great news is they tend to be very well lit. The designers want to ensure their clothes look as good as they possibly can and that those watching the show (and us photographers in the pit) can see the detail in their clothing that they spent so many hours developing.
2. Lens choice
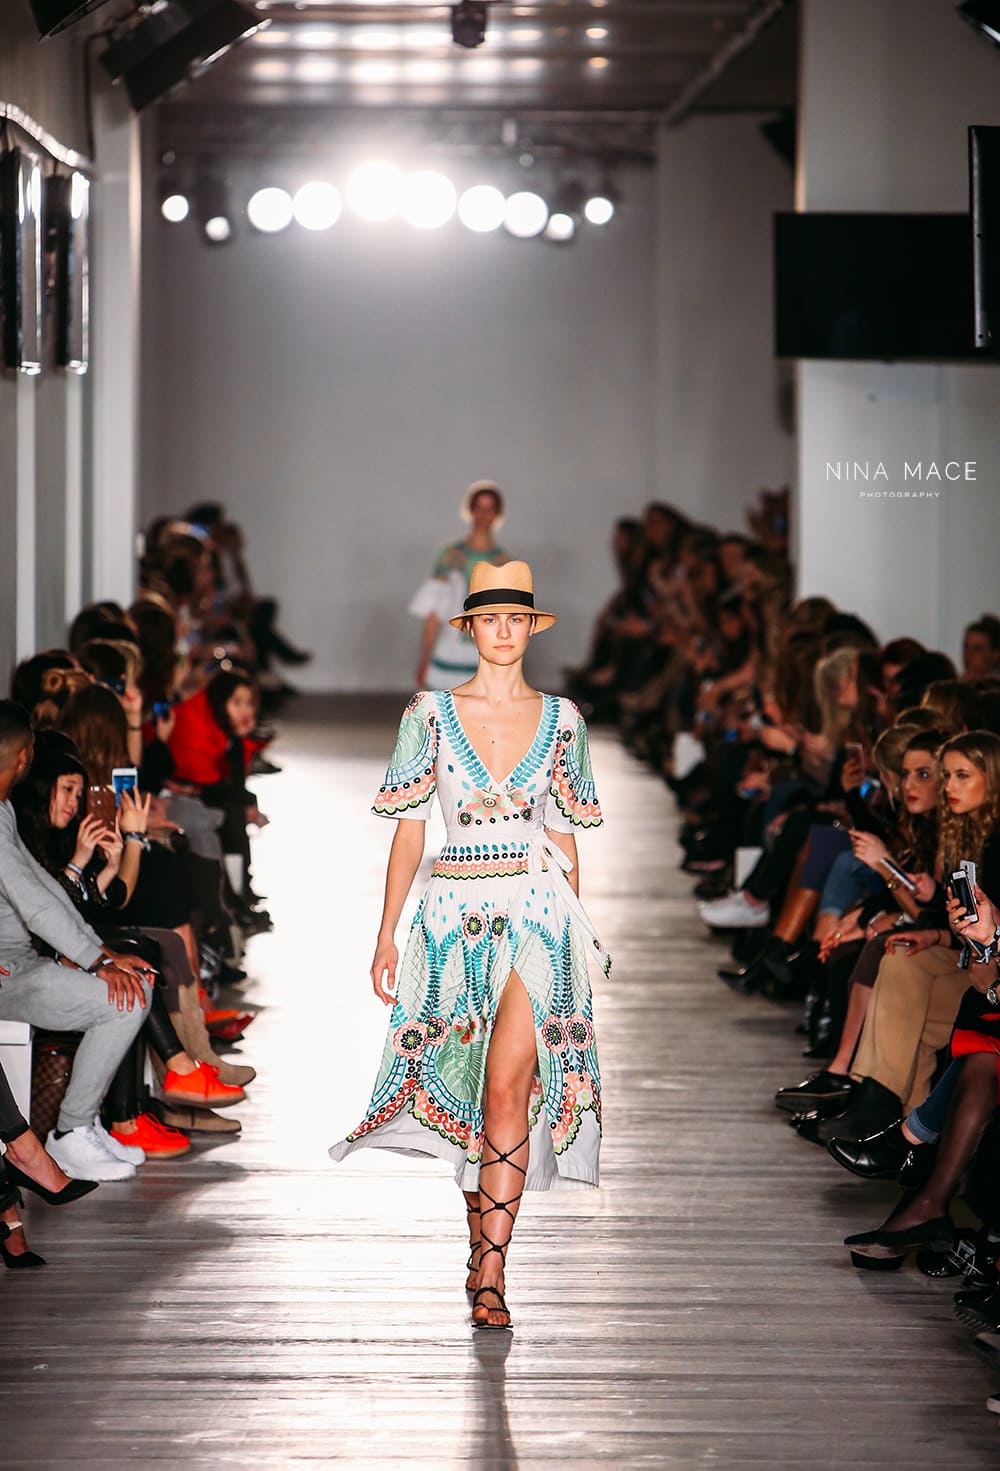
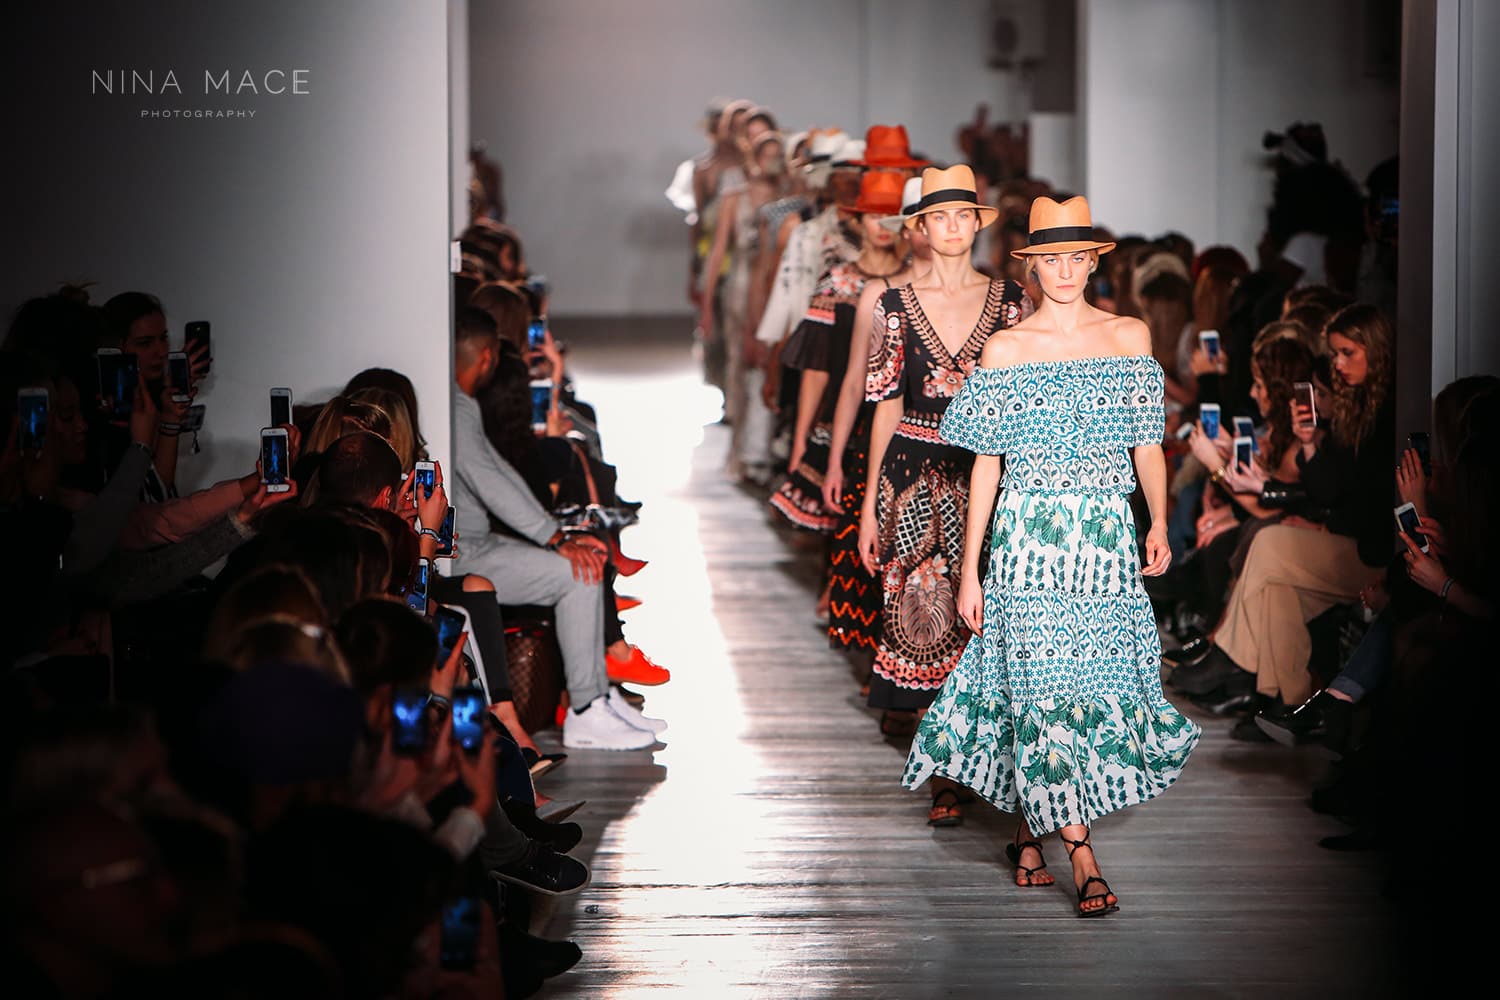
The catwalk at London Fashion Weekend was incredibly long and this required my longest focal length lens. All of the image below were taken on my Canon 70-200 2.8L and were mostly taken at 200mm to reach the models as they walked towards us.
3. Settings
As with all events, I shoot in RAW to ensure that I have the best opportunity to recover highlights and lift shadows if required. As the catwalk is so well lit, by default the audience is very dark, so shooting RAW gives me more opportunity when editing afterwards.
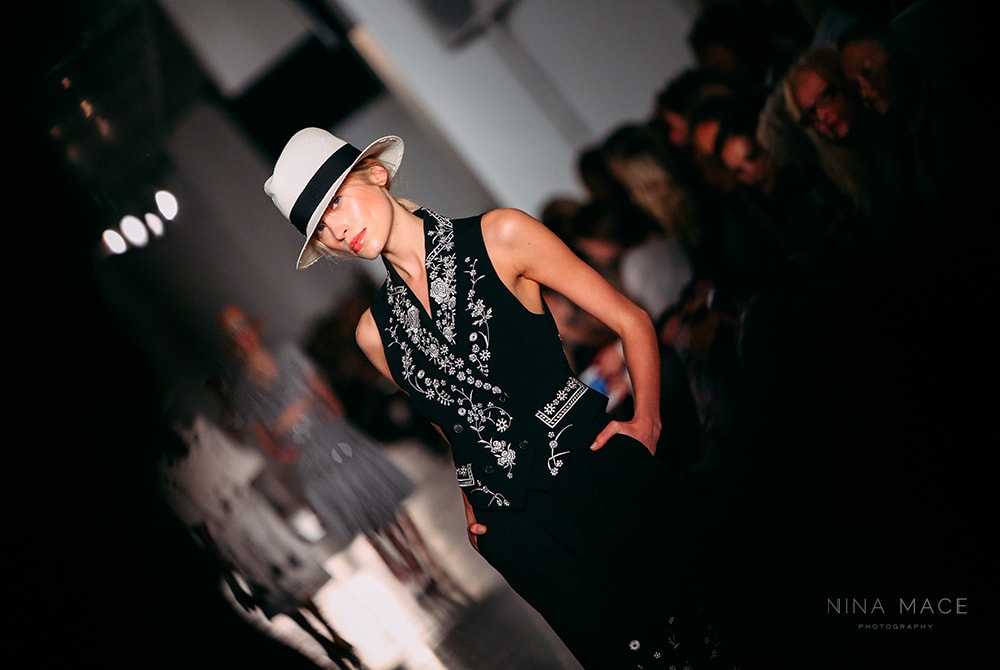
I shot most of the show with a low aperture of between 2.8 & 3.5 (as I love separation between my subject and background) with an ISO of between 800-1600 depending on how wide I was shooting and where the model was on the catwalk. I like to keep my shutter speed at a minimum of 1/500 to keep my images as sharp as possible.
Finally I set my white balance (on the advise of the Canon team) to 2800 kelvin to balance out the warmth of the very powerful lights.
4. Timing
The show itself only lasts between 10 and 15 minutes, so timing of the shots is very important. Ideally you want to photograph the models when both feet are planted on the ground, so I ended up shooting in time with the models walk, just as their front foot was being placed down.
5. Editing
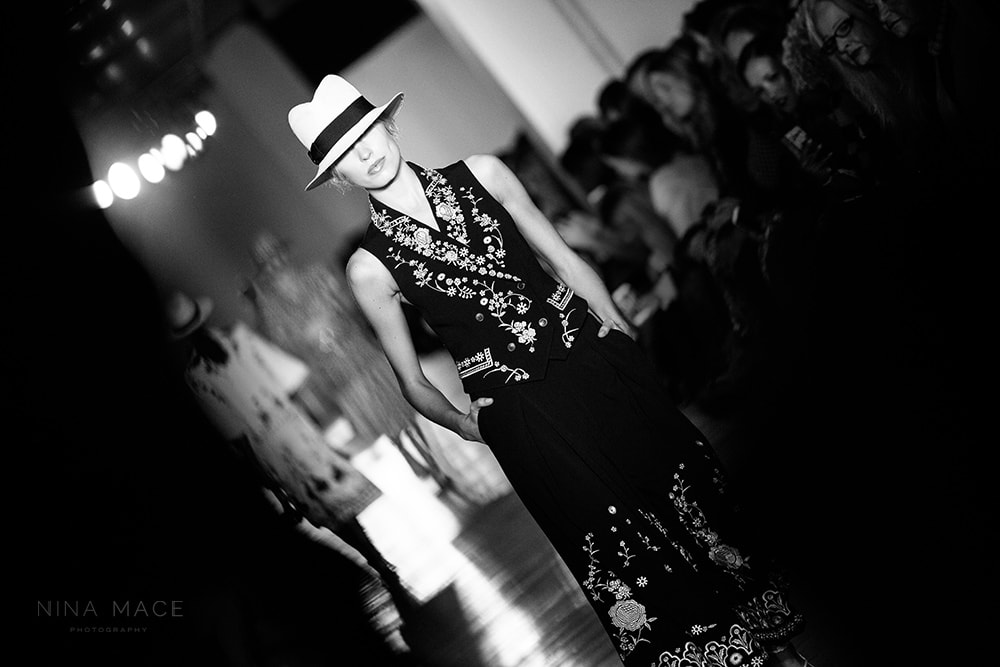
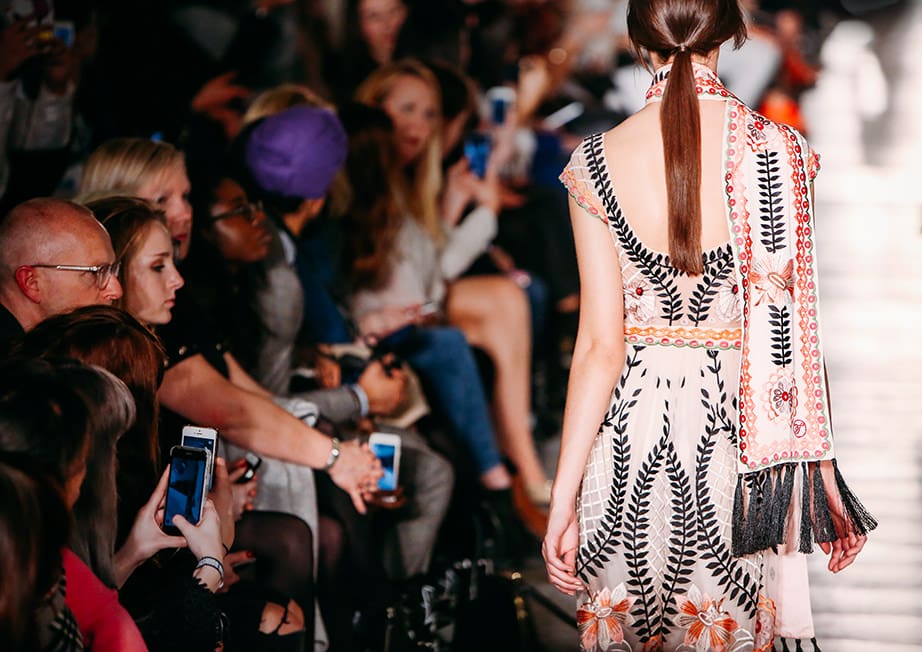
When editing the images I was very conscious not to edit the overall colours too heavily as the colours must be true to the original garment. The images actually needed very little editing as the light was so good so I made some minor adjustments to the highlights and shadows and added a little more contrast.


Live Music Photography: Matt Goss at the Dorchester
xxxxxxxxxxxx
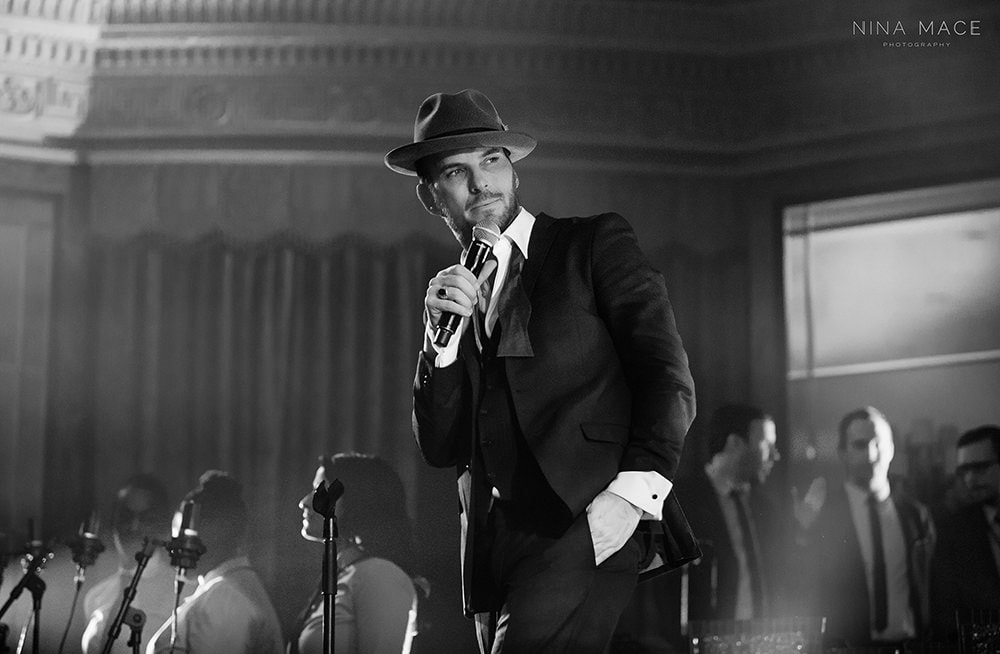
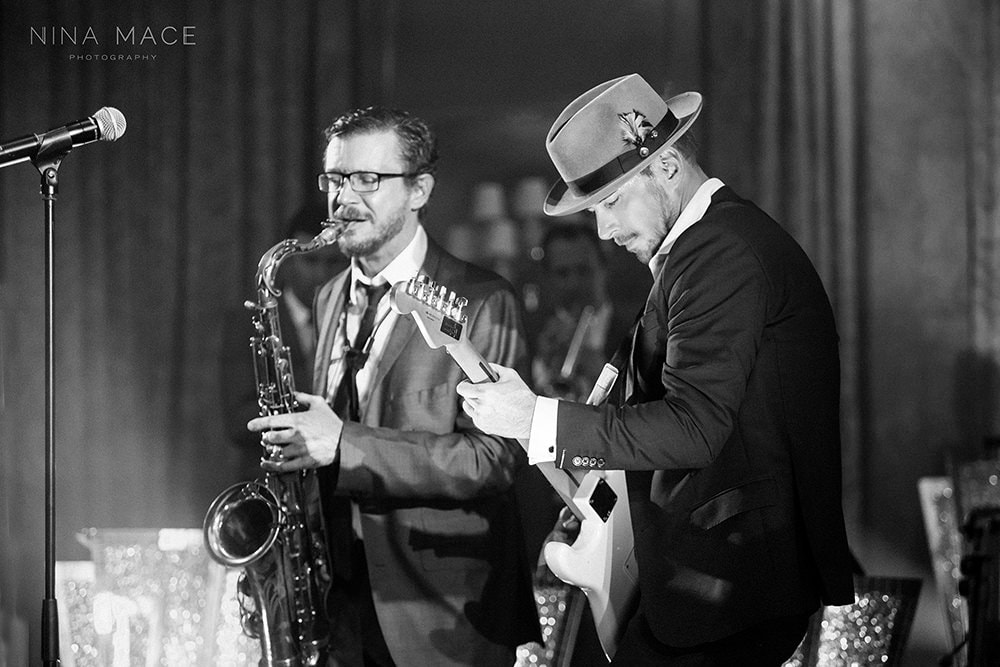
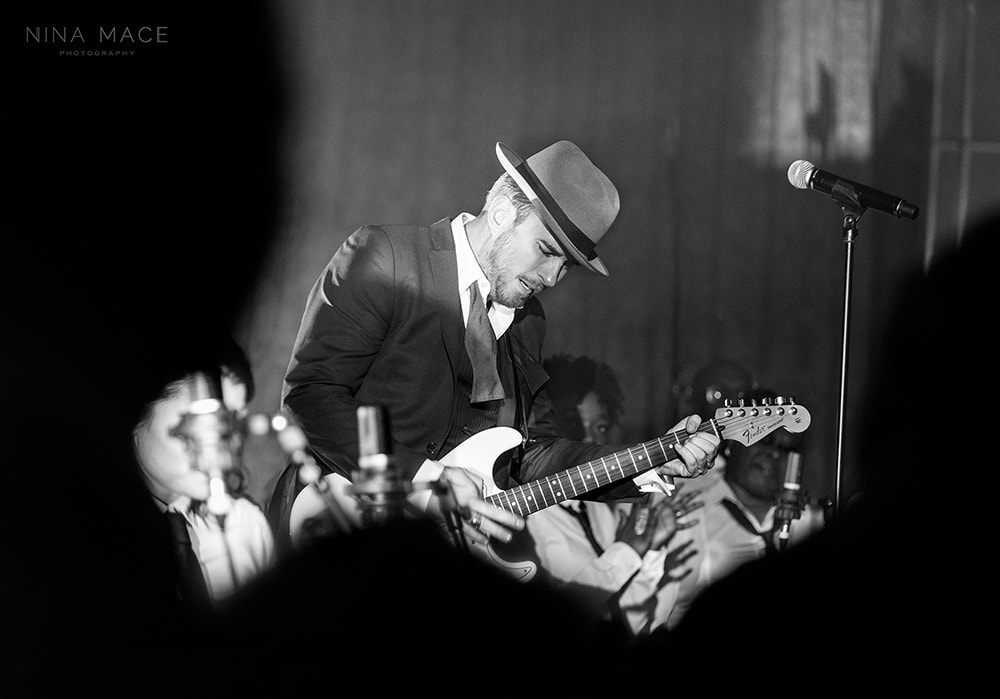
I am a huge music fan and I love photographing live music – last year I photographed Matt Goss at the Dorchester in London. I had already seen Matt’s show in Vegas so had a good idea of how the show ran and the overall style of the night. I was given access to the press pit at the front of the stage and I also could walk around the venue to take images from further back on my longer focal length lenses.
1. Light
Live music photography is very different to catwalk photography as in the first instance the lights move. Not only do they move, but they often change colour from bright magenta to green, and this can make for an interesting challenge. Overall this venue was quite dark so I was shooting at around 4000-6400 ISO.
2. Lens choice
With live music photography, you can never be certain exactly how close to the stage you are going to be, so I took a wide variety of lenses with me. When I was in the pit (literally 1 metre from the stage), I was shooting with my 24-70 and when I moved further back I alternated between my 135 2.0L and my 70-200 2.8L.
3. Settings
Shooting in RAW was even more important at this gig because of the speed the lights changed. I shoot in full manual and was changing my settings for nearly every shot I was taking.
Again I shot most of the show with a low aperture of between 2.8 & 3.5 (as I love separation between my subject and background). As it was very dark I had to slow my shutter speed down but tried not to drop below 1/200 of a second.
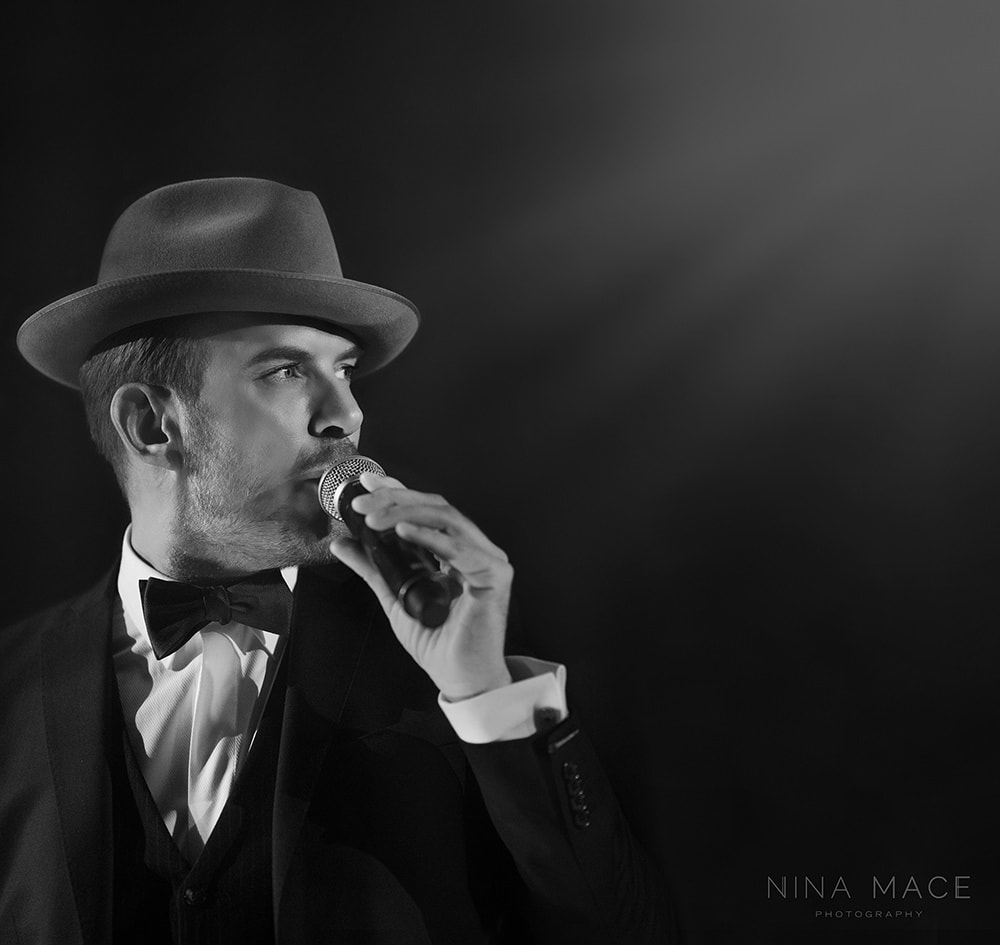
About 15 minutes into the show I actually made the decision to shoot in black and white as it felt as if it fitted the overall style of the event and also made the best of the high contrast lighting.
4. Timing
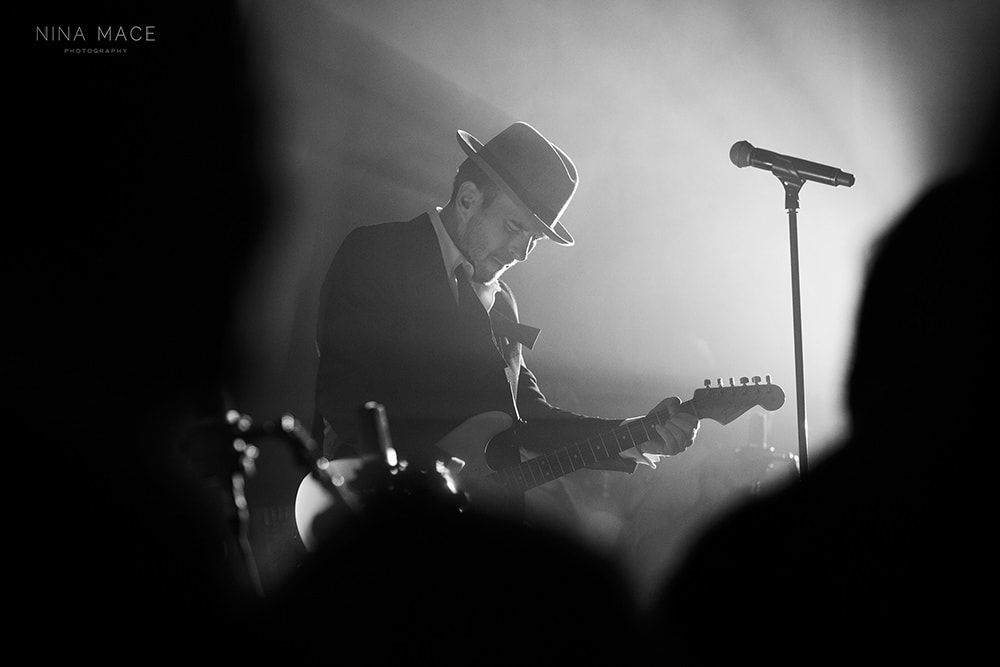
As with the cat walk show timing was imperative. After 10 minutes I started to get a feel for the timing of the lighting changes. You can see from the images below how important timing was.
The 2 bottom images of Matt playing guitar were taken within a millisecond of one another and it changed from being lit from the front to being lit from behind.
5. Editing
Unlike the catwalk shows these live music images required a little more editing. Due to the high ISO, I applied some noise removal in Adobe Camera RAW, and I did edit out any obvious distractions from the images.
One of the most extreme before and after edits turned out to be one of my favourite images. On the back of camera (at the time I was shooting in colour not B&W) I looked at the image and NEARLY deleted it as I thought it was past the point of recovery due to the crazy magenta lighting.
Thanks to the incredible Canon 5diii I managed to salvage the shot. The image became mine and the artist’s favourites too and it was shared across social media and featured on his website. The lesson here is NEVER DELETE any live music images until you have gotten them off your camera – you just never know what you could end up with!

I hope you have found this blog post useful and if you have any great live music or catwalk images please feel free to drop the link to them in the comments below – its good to share 🙂
Canon Professional Services (CPS)
Canon Professional Services (CPS) is a service created to help professional photographers across Europe using Canon equipment. Not all photographers qualify; there are strict criteria to become a member of this exclusive service and take advantage of its benefits. For an overview of criteria and main benefits visit www.canon-europe.com/cps. Throughout the year Canon run a number of different experience days so register today to be a CPS member and to be in with a chance of attending.
