Facebook ads for photographers course
")


welcome
TO THE HOME OF NINA MACE PHOTOGRAPHY
Free Frequency separation action for photographers
** PLEASE NOTE THIS BLOG IS BEST VIEWED ON AN IPAD OR PC/MAC SO YOU CAN SEE THE DETAIL WITHIN THE IMAGES **
Over the last 10 years, I have refined my editing (and shooting) process for both my client and competition work. I cull in Adobe Bridge, edit around 90% of my images in Adobe Camera Raw (ACR) and then, if needed, take the images into Photoshop to add a bit more punch and occasionally swap a head 🙂
I have heard the term Frequency separation discussed on editing blogs and sites, specifically in relation to high-end retouching of skin in the studio, so I decided to look further to see if there was a place for this within my process when editing real family photoshoots. The caveat being that I did not want to spend hours retouching skin for family photoshoots as I prefer a more natural-looking skin texture.
After lots of reading and experimenting with different methods the answer was yes – there is a place for this within my workflow and I have now created my own frequency separation action which you can download for FREE at the bottom of this blog to try for yourself.
** NOTE – This is not a super technical Photoshop tutorial but more for photographers who would like to trial frequency separation as part of their real family editing workflow. That said I have come across some excellent detailed tutorials (free and paid for) and I have included details of all of these below should you want to go and learn more about this subject area **
What actually is frequency separation?
In its simplest terms, a frequency separation action breaks your image into 2 layers. These layers are:
1. Skin details such as pores, lines, acne, scars and stray hairs. These are typically called the high frequencies and in actions are shown on the high frequency layer
2. Colour, tones and skin transitions from light to dark are on the second layer and typically called low frequency or colour/ tones layer.
By separating the image in this way you can remove blemishes and blend skin colour without losing overall skin texture. If done well it stops the subject from looking plastic and too heavily edited.
What methods are used to create Frequency Separation actions?
There are numerous ways to break your images into the above-mentioned 2 layers. From my research, the high-frequency layer can be created with a high pass filter or subtract layer, and the low-frequency layer can be created with a blur layer, either Gaussian or Median blur.
If you would like to understand how to create these layers in Photoshop yourself I have found a number of videos which explain how and I have shared these at the bottom of this blog. Phlearn also offer more advanced training in this area and details can be found here
How can I use frequency separation as an outdoor family photographer?
For those of you that have had family photography editing training with me, you will know that I advocate getting the image right in camera first. I then suggest you use editing to add that extra wow to the shot in a time-effective way.
Frequency separation is traditionally used by high-end re-touchers and commercial photographers. They will potentially edit pixel by pixel to achieve the look they are after. After cloning, healing, blurring on the individual layers they may also go on to dodge and burn.
As a family photographer delivering up to 40 images on a shoot, I choose not to edit to this level of detail, but I have still found a number of great uses for frequency separation.
Below is a summary of how I use my action in different situations.
Frequency separation for outdoor family shoots
- To remove stray hairs across faces and also remove flyaway hairs that are very distracting.
- To remove spots. Scratches and anything which is temporary on my clients skin
- To even out any very significant difference in skin tone (including fake tan lines)
Frequency separation for competition editing
- To smooth out and colour transitions in the skin
- To dodge and burn to give facial shape more dimension and shadow and light
- To remove all blemishes whilst maintaining skin texture
Step by step how to use the free frequency separation action
Below are some screen shots of how the action looks whilst you are using it. The final image is a before and after with approximately 5 minutes of editing on both the high and low layers.
This image was taken on one of my photography meet ups in Surrey. This lovely young lady came along to the shoot with my friend Karen from KW Photography and the dress was supplied by Coralie from Photees who creates branded clothing for creatives.
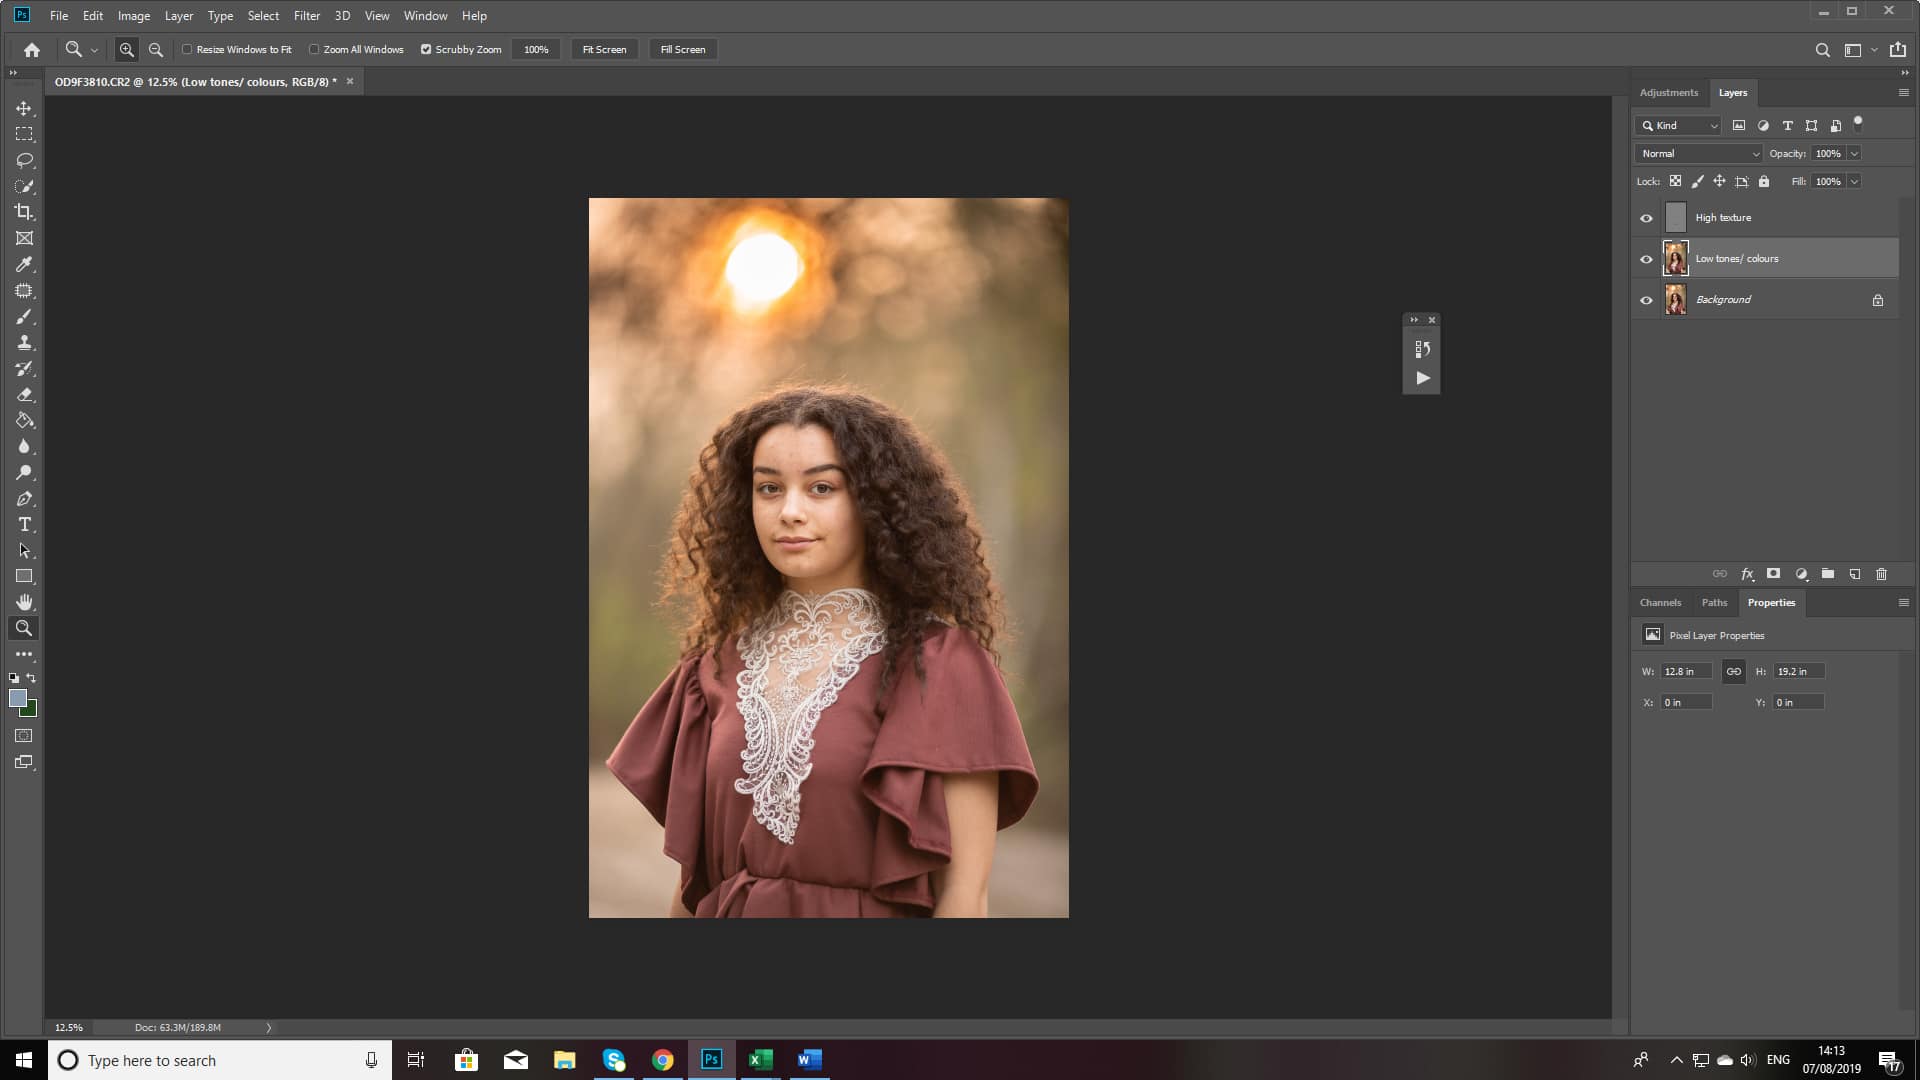
Step 1 : Open your RAW file into Photoshop and run the action “ Frequency Separation Nina Mace Photography”
This will create 2 new layers – the first called High Texture and the second call low/ colour tones.
At this stage it will appear as nothing has changed in your image.
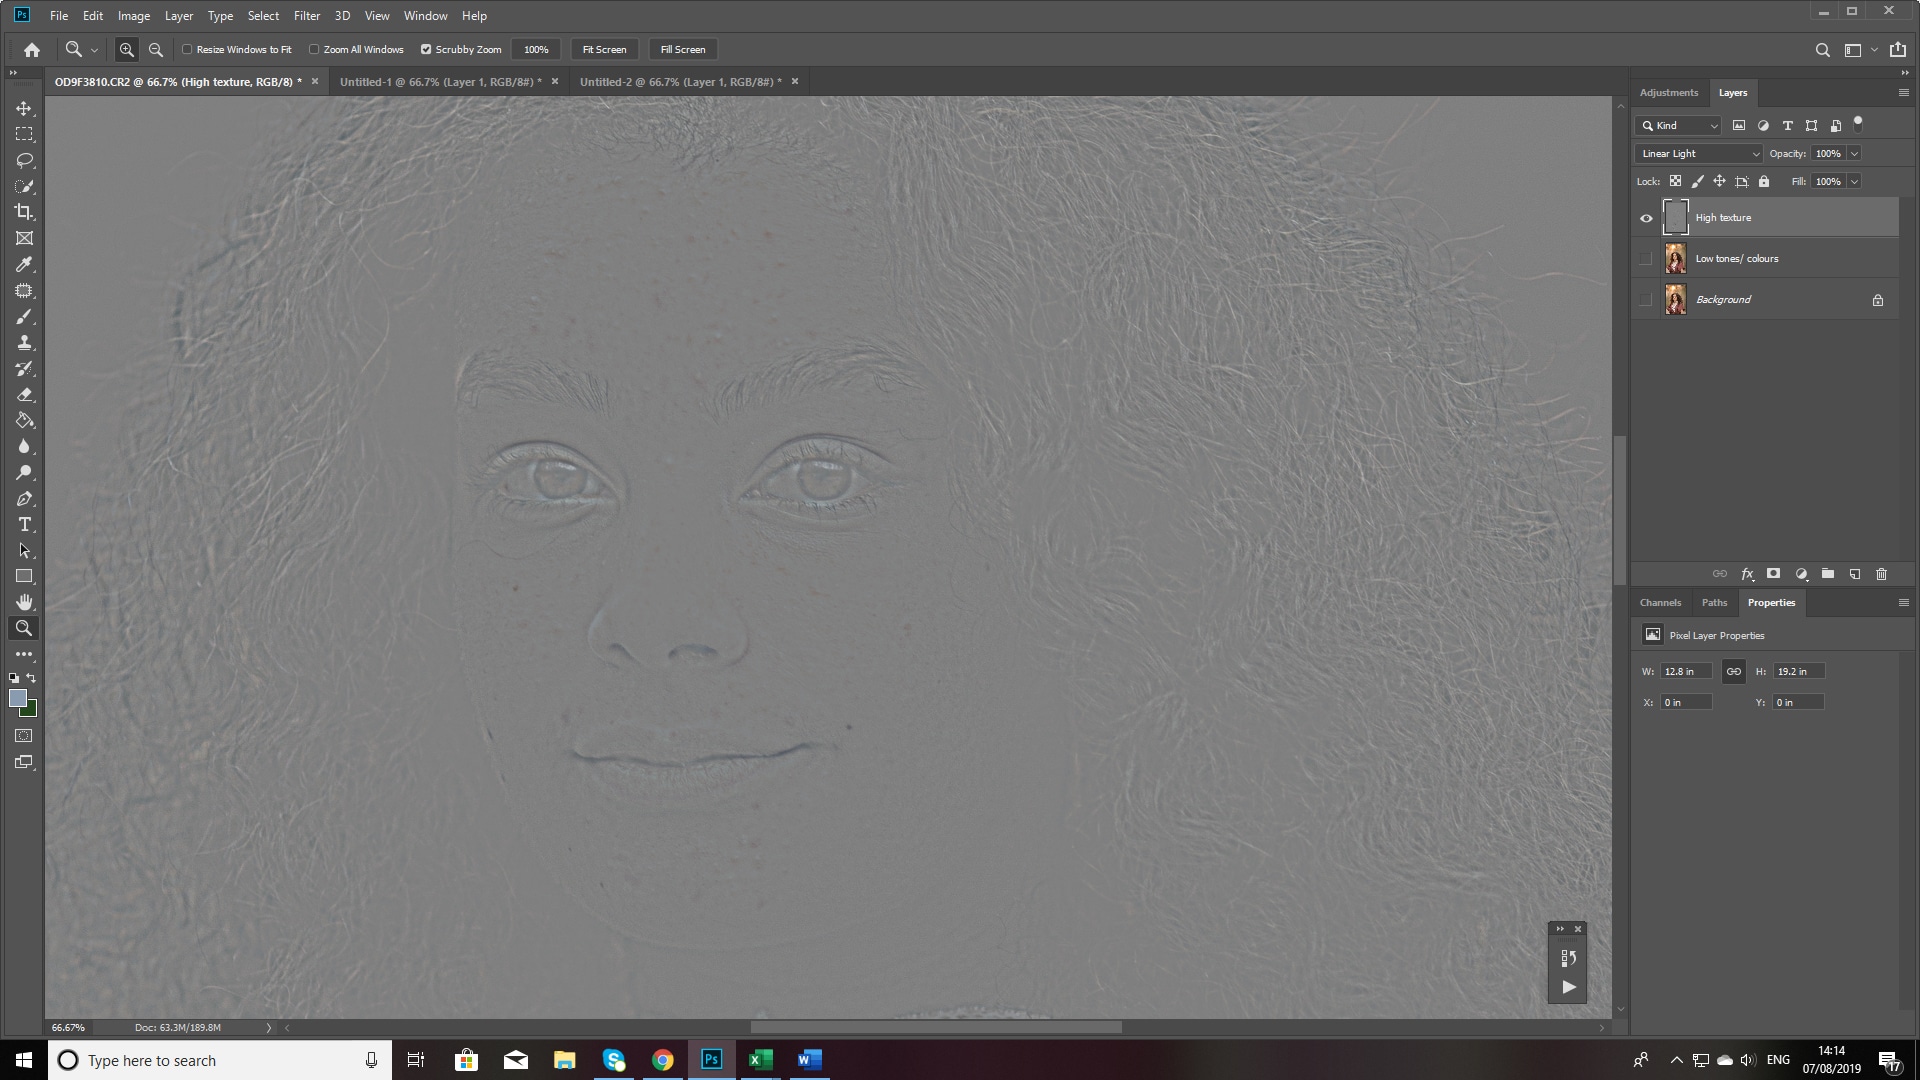
Step 2 : Switch off the background and low layers to reveal just the high texture layer.
Zoom in and clean up any blemishes, stray hairs using your preferred method.
You can spot heal, clone, or use the patch tool.
If you wish to see your progress you can keep turning the other 2 layers back on and off.
This video show how I use the patch and clone tools to remove blemishes on the high frequency layer
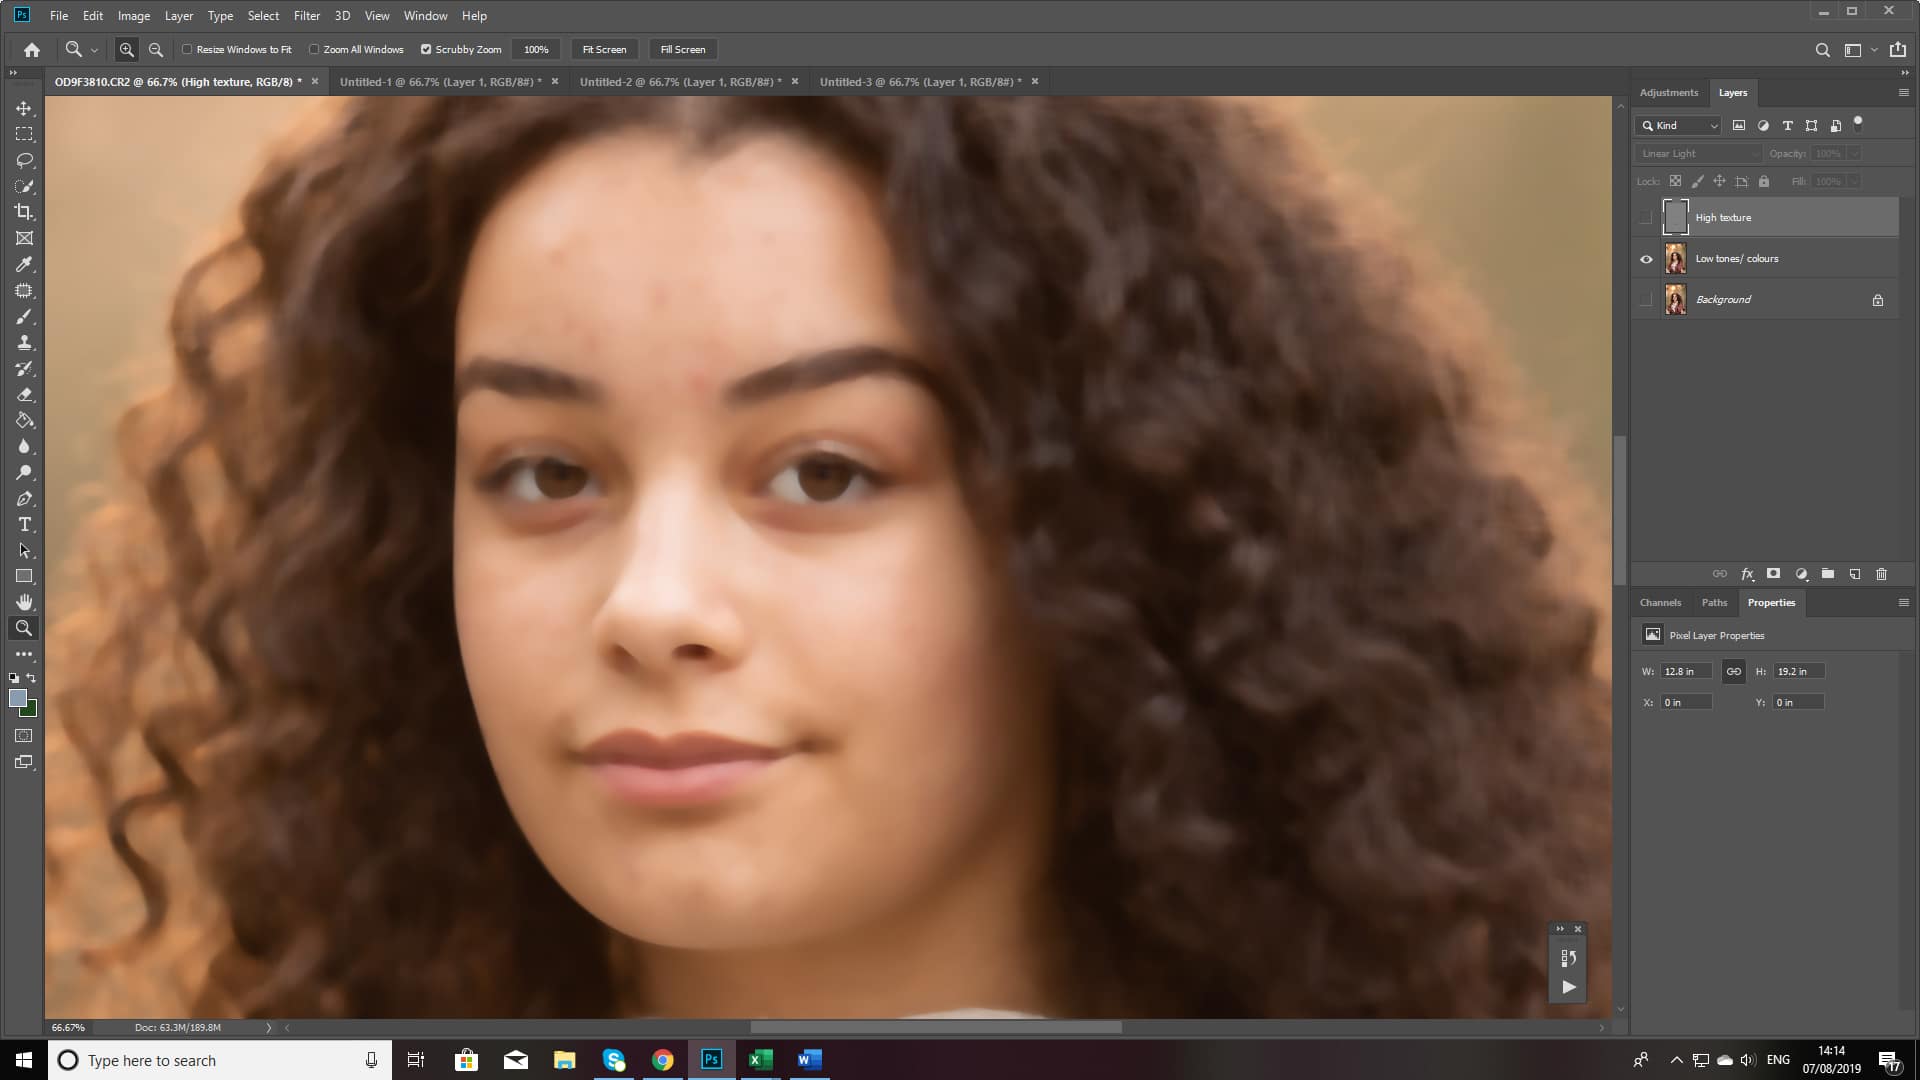
Step 3 : Switch off the background and high layers to reveal just the low/ colours layer.
Now you can select an area (with the patch or selection tool) and add some additional blur using filter > blur > gaussian blur. This will even out any skin tones.
You can also use a colour brush or dodge and burn and this stage to disguise any differing skin tones.
This video shows how I use both patch, clone and blurring to even skin tone on the lower colour/ tone layer of the image
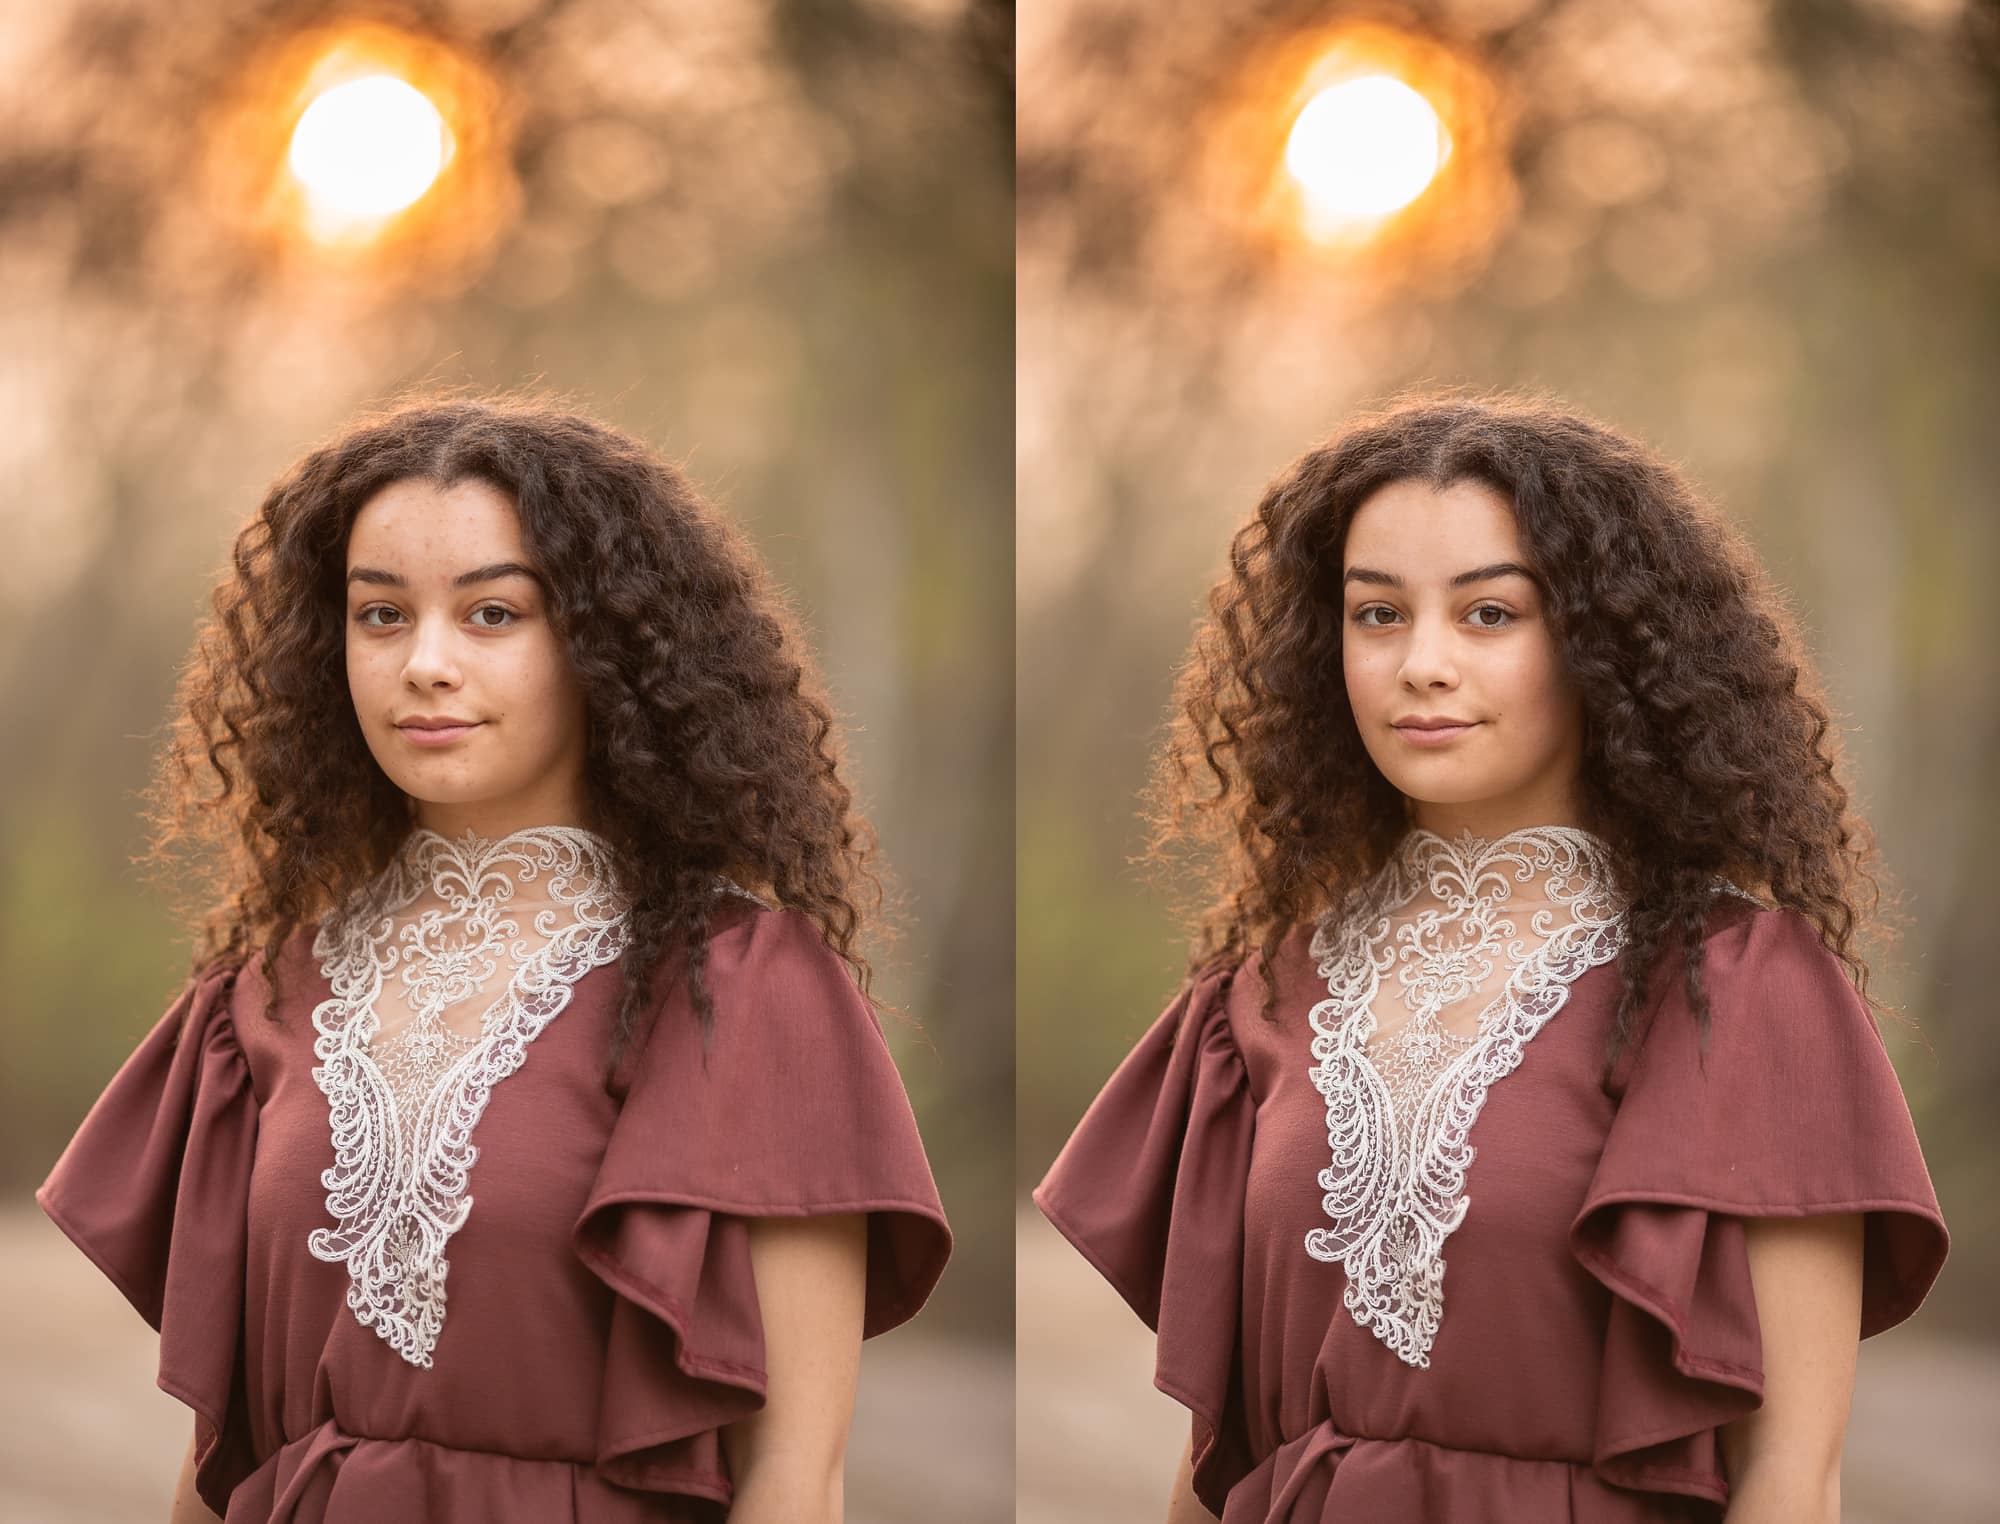
Step 4 : Select both the high and low layers and create a new group from the layers to compare before and after.
You can now turn this on and off to see how happy you are with the level of retouching you have completed.
The before and after shown here took around 5 minutes and then I would then look to punch the colours and adding some pop to the subject in Photoshop.
The more time you spend on the image the bigger change you can create it is very much down to your personal taste.
If you would like more free photography training please join my Facebook Communities below

Beginner Photographers
Discussions around camera and lens types & CC on images

Professional Photographers
Discussions around shooting, editing, business & marketing
I hope you have found this blog post useful and this might give you an insight into Frequency Separation and how this can fit into your editing process whether it be for client shoots or competitions imagery.
To understand Frequency separation in even more detail you can watch the 2 videos below and check out Phlearns tutorials.
Finally, If you come across any other great blogs or videos please do let me know and I will add them to this blog.


Marketing for photographers: Getting to know your target audience
Facebook ads for photographers course Target audience for photographers"Your vibe attracts your tribe"One of the questions I am asked regularly by professional photographers on my Business & Marketing Workshop is "how can they find customers who really value our...
Creating a product page for your clients – Free DIVI template page
creating a product page for your clients WELCOMEWith Christmas fast approaching and us being in lockdown again at the moment I have created a new product page for my website. This page has a list of my favourite frame and wall products and serves as inspiration...
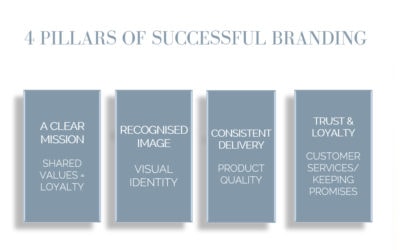
Kick start January by asking yourself which of the 4 pillars of branding do you need to work on?
This year I had the pleasure of running a Masterclass at the SWPP convention focused on branding and what photographers should consider to make their brand stand out. I thought it might be useful for me to share some of the key messages from the presentation so you...