Business tips for photographers: Fetch as Google Tool
Step 1: Log in to your Google Webmaster Account
If you don’t have a Google Webmaster Account the first thing you need to do is set one up and go through the Verification process. This is to ensure that you are the site owner. You have 5 choices of how to verify your account ranging from an HTML file upload to using your Google Analytics tracking code. I found it easiest to use the first option which includes downloading a verification code which you add to your website. For help with verifying your photography website, you can visit this help page here.
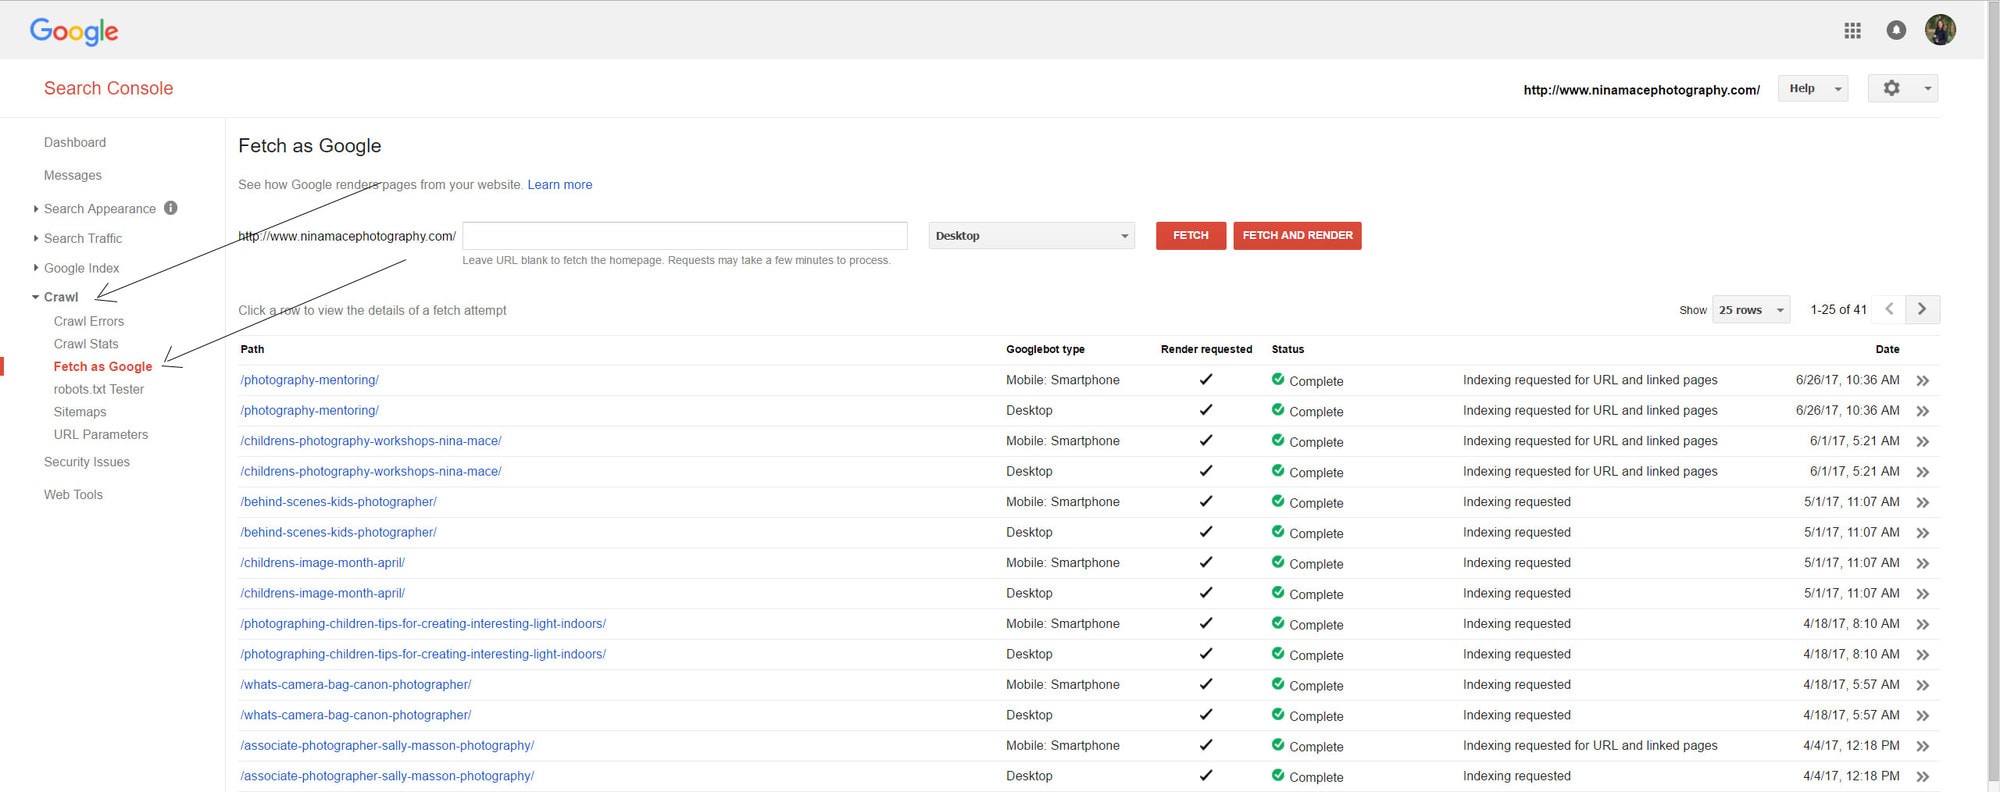
Step 2: Crawl > Fetch as Google
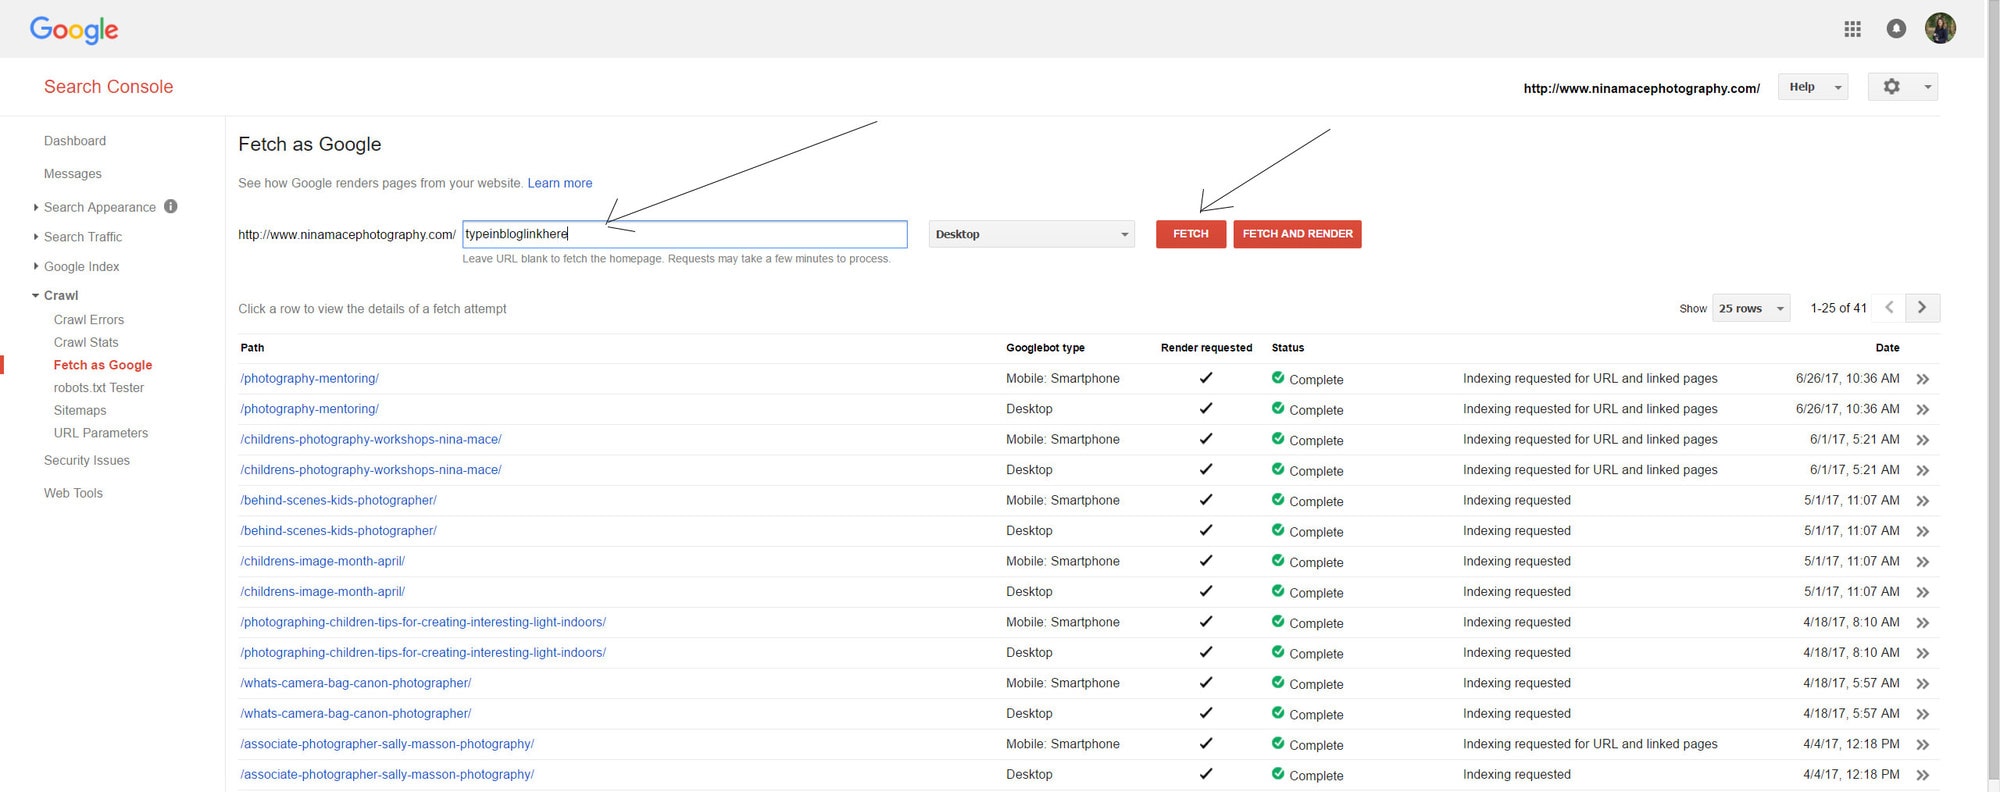
Click on Crawl on the menu on the left-hand side and then click on Fetch as Google. Next, enter your web page or blog link into the input field, (leaving off the www address) and click the FETCH button.
-
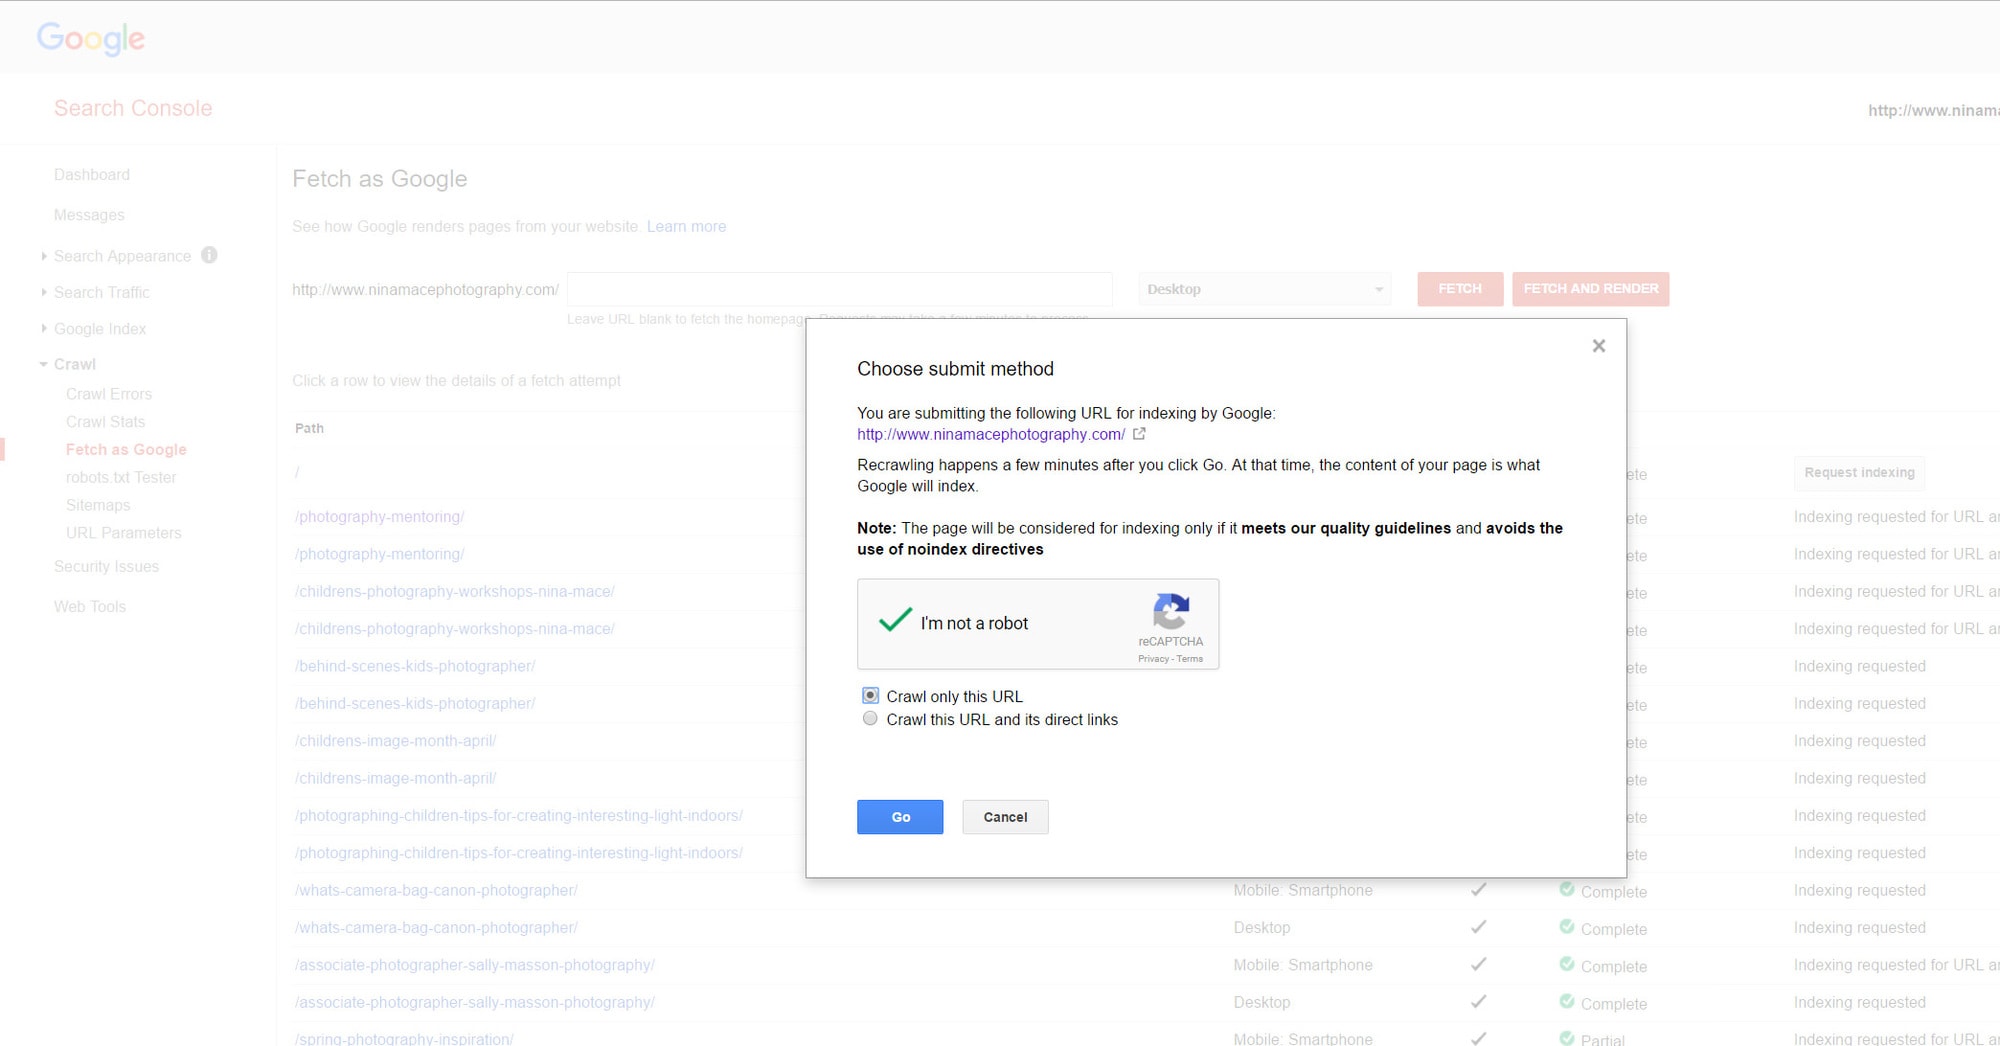
Step 3: Submit to index
Once you have pressed fetch, wait to see if you have a green tick and success message. Once you see this you can then submit your page to be indexed using the Submit to index button.
At this point, you have 2 choices
- You can submit just that one page or blog post OR
- You can submit that page or blog post plus all of its direct links.
If you have made major changes, or the new page or blog links to other pages on your site, then I would use the second option but please note you can only choose this option 10 times a month.
-
Step 4: Share, Share, Share!
The final step is now to go and share your lovely new page or blog post across all social media. You want your hard work to reach as many people as possible so consider Facebook, Google +, Instagram, Twitter and any other media where you may reach your target audience.
-
HELP! I have followed your steps and it’s not working!
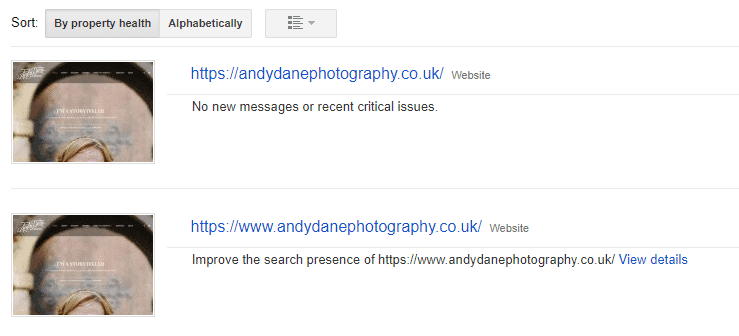
If you have followed these steps and the result says “Redirected” and not “complete” here’s what you need to do. Thanks to Andy Dane for his technical support on how to resolve this issue.
X